

Executive summary
This guide shows how to create a XREAL Aura business app in Android Studio using Kotlin and the Jetpack XR SDK. You will create a project, add the spatial interface library, paste in a small task-panel example and run it in the XR Glasses emulator before testing on Aura hardware.
The example displays work instructions and lets users acknowledge each task. It is a starting point for a business application, without permanent work records or verification that a physical task was completed. The code follows the reviewed documentation but has not been compiled or tested on Aura hardware.
Introduction
Building a XREAL Aura business app starts in Android Studio, where you write Kotlin code and use the Jetpack XR SDK to add a spatial interface. This guide takes you from creating a project to running it in an emulator and testing it on Aura. As a simple example, you will build a panel that displays work instructions and lets a user acknowledge each task.
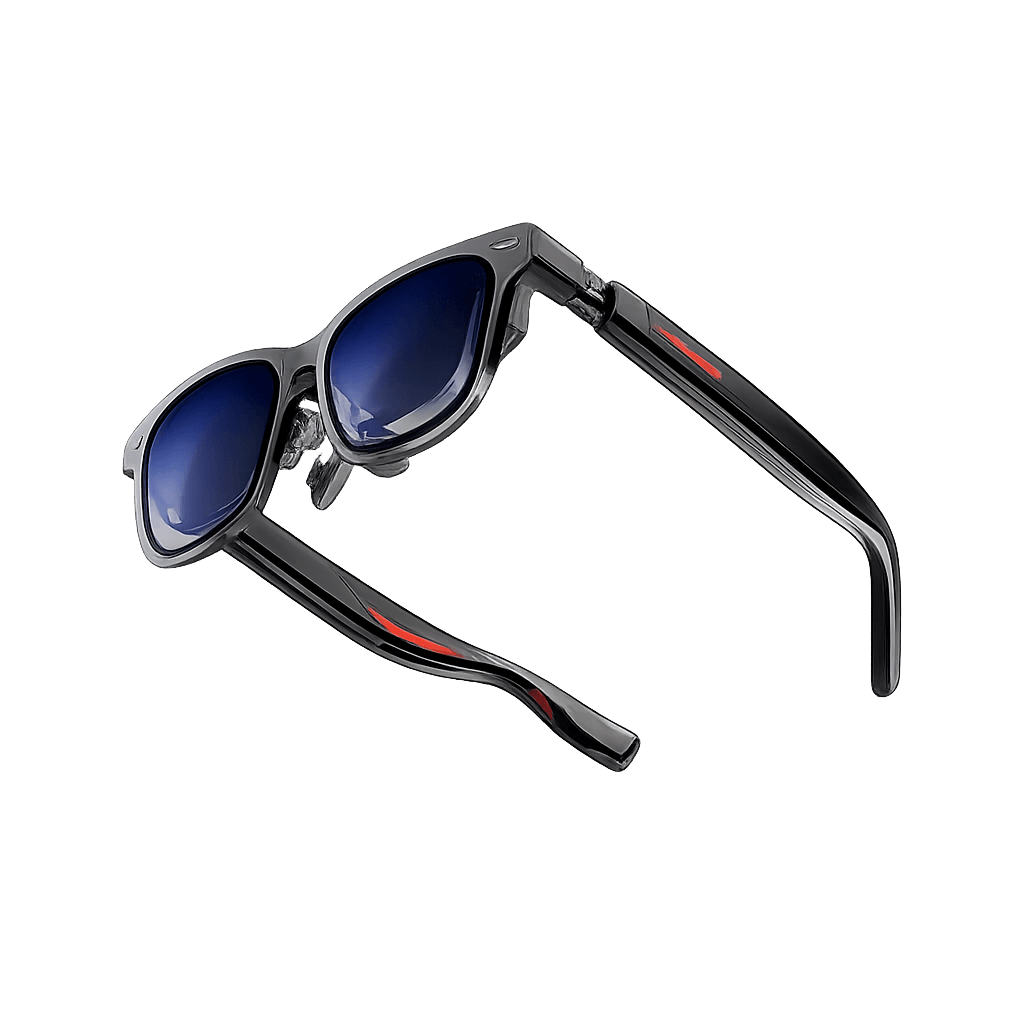
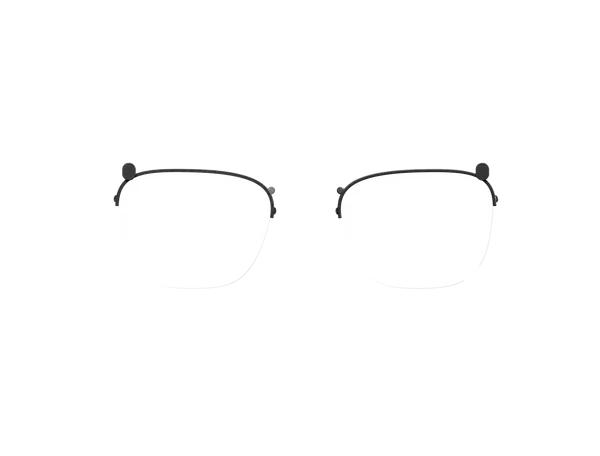
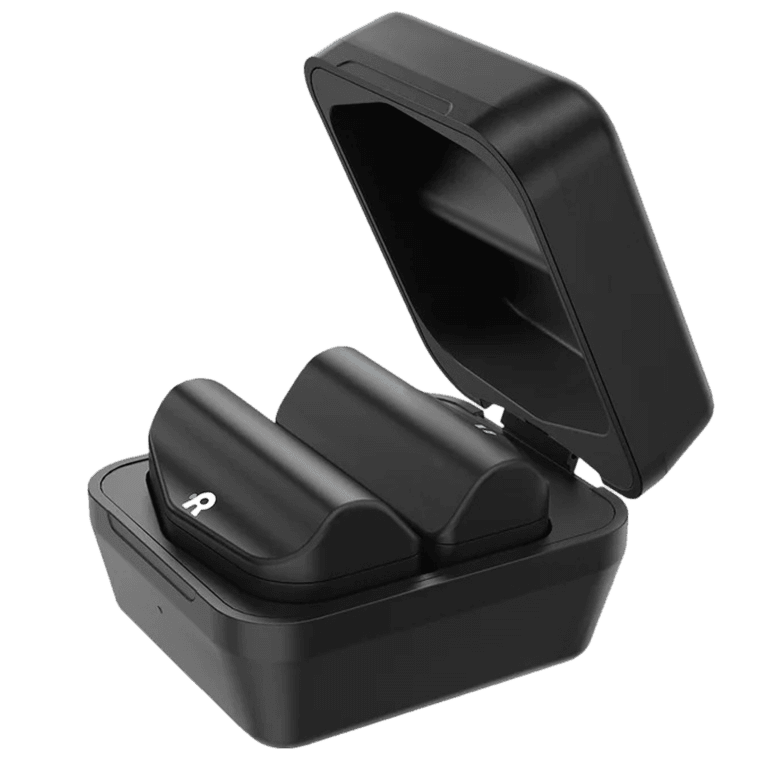
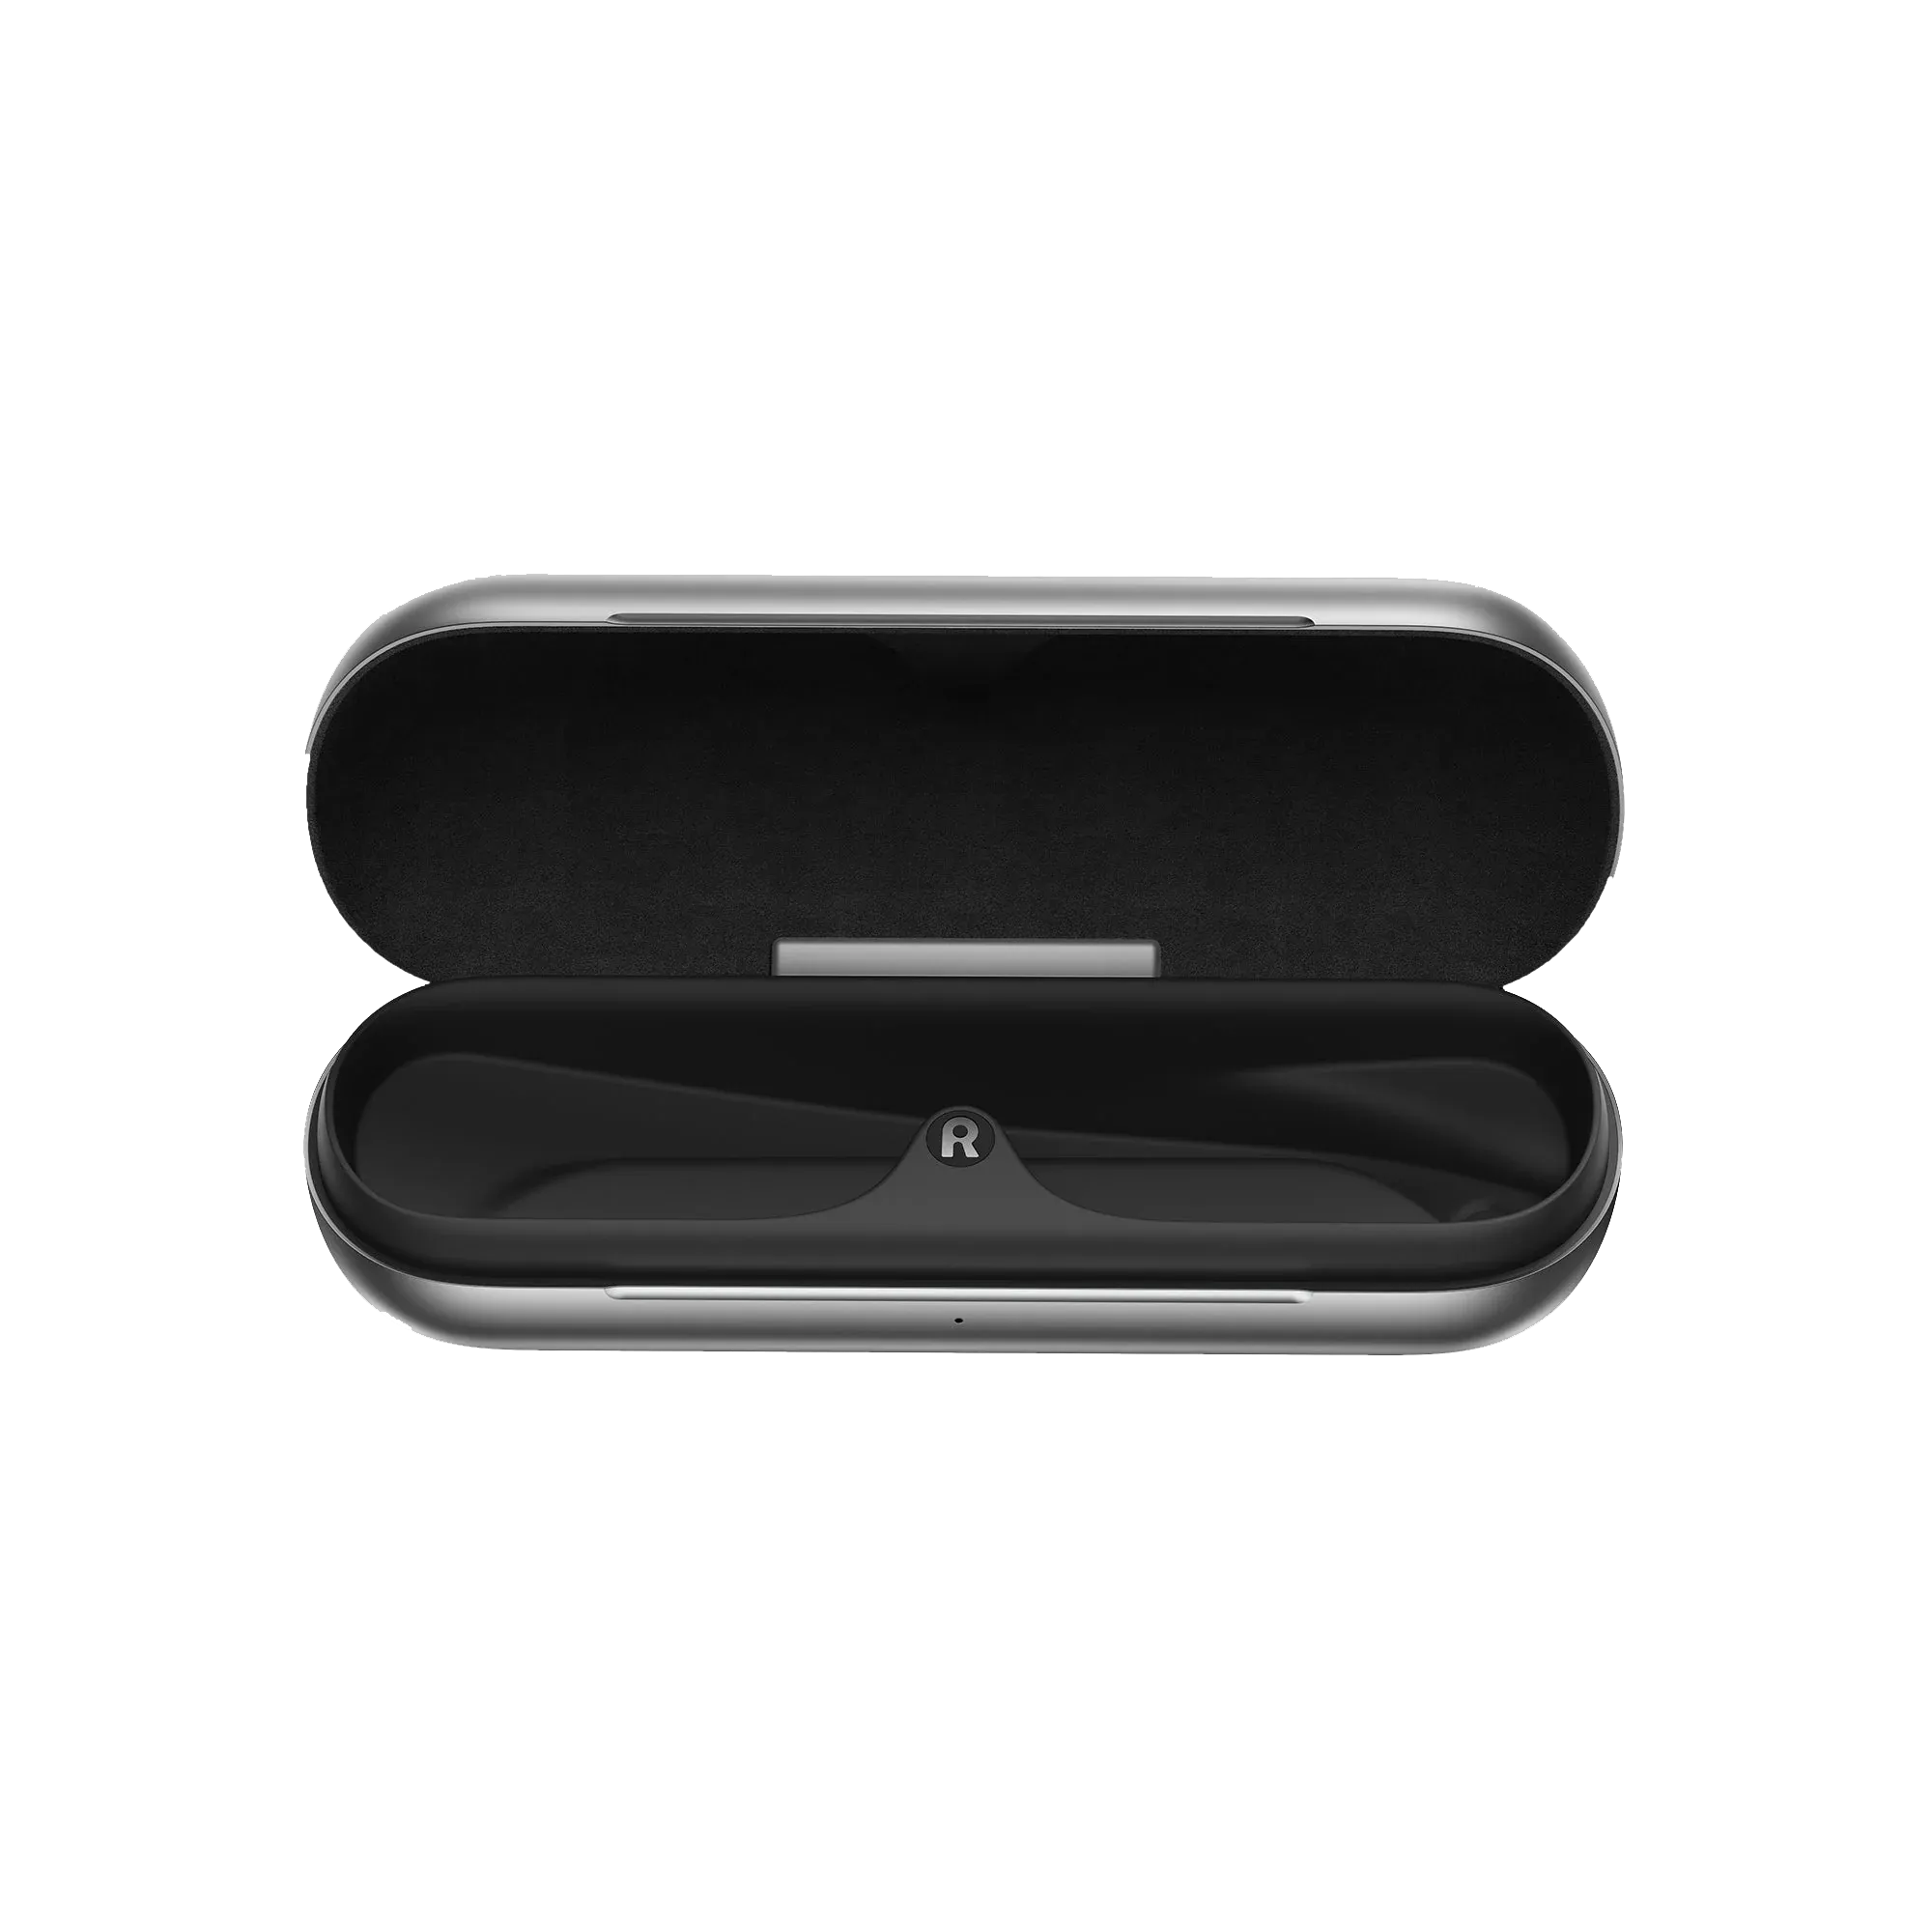
XREAL Aura combines wired glasses with an Android XR computing puck. Follow the Android XR workflow for wired XR glasses, rather than the separate phone-projected audio and display glasses workflow. For hardware context, see the VRX XREAL Aura overview and XREAL's official Aura page. [1]
Before you start
· Use a company-approved computer with internet access for the initial downloads
· Check Google's XR emulator system requirements, which currently cover supported Windows and macOS configurations [2]
· For physical testing, obtain Aura glasses, their compute puck and the kit's developer connection instructions
Availability: Confirm regional supply with VR Expert. XREAL's current page prioritises the US, Canada, Japan and South Korea; older reservation lists should not be treated as confirmed European delivery. [1]
Step 1 Install Android Studio and its SDK tools
Start by installing Android Studio and the SDK tools used to build the app, run a simulated XR device and connect to hardware.
Google recommends Android Studio Canary for XR. Canary is a preview edition with newer tools and potentially unfinished features; you can install it alongside your existing Android Studio.
· Open Android Studio Preview, download the appropriate installer and complete the installation wizard.
· On the Android Studio welcome screen, select More Actions > SDK Manager. If a project is already open, use Tools > SDK Manager in the top menu.
· In the SDK Manager settings window, find the tabs SDK Platforms and SDK Tools, above the list of installable packages. Both tabs are part of the same SDK Manager window.
· Select SDK Tools. Tick Android SDK Build-Tools, Android Emulator and Android SDK Platform-Tools. Keep them selected if already installed; apply available updates. Build-Tools prepares the app's installation file, Emulator runs simulated devices, and Platform-Tools includes the device connection tool ADB.
· Click Apply, review the selected downloads, accept the required licences and wait for installation. Click OK to close the window.
The SDK Platforms tab installs the Android platform used to compile the app. Its required version comes from the project configuration. Create the project in Step 2, then use its compileSdk setting to select the matching platform. Step 6 covers the XR emulator's system image, which supplies the operating system for the simulated device.
Checkpoint: The three SDK tools are installed. You can now create the project. [3, 13]
Step 2 Create the XREAL Aura business app project
The XR project template creates the app's starting files and build configuration. Follow Google's Android XR project instructions for your installed Studio version. [4]
· In Android studio > return to the welcome screen and click New Project, or choose File > New > New Project.
· Select XR in the template list, then the template for XR headsets and wired XR glasses. Google’s project page no longer names templates (it says to choose the template that corresponds to the type of XR device you want to build for) and names can change between Canary releases, so take the exact name from the IDE for the screenshot. Do not choose the audio or display glasses template that creates a phone-projected experience.
· Click Next. Enter AuraTaskPanel in Name. In Package name, enter com.example.aurataskpanel for this tutorial. Select Kotlin if a language choice appears. The package name identifies the app's code and can be customised for your organisation. It is entered in Android Studio as a dot-separated identifier, without https:// or a web address path.
Then keep the generated template's build settings and click Finish. Wait for the first Gradle sync to complete. Sync makes Android Studio read the build configuration and resolve its dependencies.
Open View > Tool Windows > Project, then select Android in the pane's view selector. You will use these files:
· MainActivity.kt: app > kotlin+java > com.example.aurataskpanel. This contains the app's entry point and interface; some versions label the source folder java
· AndroidManifest.xml: app > manifests. This declares the app's entry point, permissions and launch settings
· build.gradle.kts (Module :app): Gradle Scripts. This configures the app's build and libraries
Install the platform your project requests
The compileSdk setting tells Android Studio which Android API set to use when building the app. Install the matching SDK platform; do not choose one based only on the glasses' brand.
· In the Android Studio’s Project pane, open Gradle Scripts > build.gradle.kts (Module :app). In the android block, find compileSdk. A value such as compileSdk = 36 means the project needs Android API 36. This number is an example, not a required value for every Aura project.
· If the value points to a catalogue entry, such as libs.versions.compileSdk, open Gradle Scripts > libs.versions.toml and read the referenced value. If the template uses a preview name or a nested compileSdk configuration, retain that setting and use its matching platform.
· Open Tools > SDK Manager > SDK Platforms. Select the row whose API Level matches the project's setting. Click Apply, complete the download, then OK.
· Return to the project and select File > Sync Project with Gradle Files, or Sync Now if a banner offers it. Gradle sync reads the build settings and downloads the project's required libraries.
Keep the template's platform setting. If Android Studio reports a missing platform, install that platform rather than lowering compileSdk to avoid the download. The XR device image used for testing is selected separately in Step 6. [13]
Checkpoint: The required SDK platform is installed, and the Build or Sync tool window contains no unresolved errors.
Step 3 Add the XR library and check Kotlin compatibility
Add Jetpack Compose for XR to give the app spatial panel components, and check Kotlin compatibility so the project can build that library without version errors. This example uses XR Compose 1.0.0-beta02 (21-10-2026, still the newest release), which requires Kotlin 2.2 according to Google's release notes. The same notes say beta02 depends on SceneCore 1.0.0-rc01, which has a known memory leak, so add implementation (“androidx.xr.scenecore:1.0.0”) or newer to the Compose line in Step 3.
Check the Kotlin version once
· In Android Studio, expand Gradle Scripts, then click open libs.versions.toml. This file, when present, is the project's central list of library and plugin versions.
· Under [versions], look for the Kotlin entry, commonly kotlin = "2.2.0" or another 2.2.x version. Keep the compatible version supplied by the current template.
· If the project uses the org.jetbrains.kotlin.plugin.compose plugin, its version must match Kotlin. Templates commonly make both refer to the same Kotlin version entry; preserve that link.
· If there is no Kotlin entry or catalogue, inspect the top-level build.gradle.kts for explicitly declared Kotlin plugins. Some newer build configurations manage Kotlin through the Android build tooling. In that case, keep the generated configuration and check the toolchain's Kotlin compatibility if a build error appears; do not add a second Kotlin plugin just to create a version entry.
If the template already provides compatible Kotlin tooling, change nothing. If a build reports that Kotlin is too old for the XR library, update the project's Kotlin tooling and any matching Compose compiler plugin together, using the supported configuration for that template. Avoid changing unrelated build settings.
Add the spatial interface dependency
· Open Gradle Scripts > build.gradle.kts (Module :app).
· Find the existing dependencies { ... } block.
· Look for an XR Compose dependency, either written directly or through an alias such as implementation(libs.androidx.xr.compose). If an alias already exists, set its referenced XR Compose version to 1.0.0-beta02 in libs.versions.toml. Do not add the same library twice.
· If XR Compose is absent, add this line inside the existing dependencies block:
implementation("androidx.xr.compose:compose:1.0.0-beta02")Keep the template's other dependencies. In particular, the code below uses ordinary Material 3, the library that supplies its buttons, text and theme, and Activity Compose, which hosts Compose content in an Android Activity.
Sync and continue
Click Sync Now in the editor banner, or File > Sync Project with Gradle Files. Wait for the download and configuration process to finish.
Checkpoint: Sync completes without dependency or Kotlin compatibility errors. Keep the remaining generated build settings when sync succeeds, then open MainActivity.kt to add the interface. If sync reports a dependency error, compare the named component with Google's Jetpack XR SDK setup page. [6]
Step 4 Build the task panel in Kotlin
The interface displays task text with a Mark complete button and a Restart demo button. The sample instructions can later be replaced with an approved workplace procedure.
In the same Android Studio > MainActivity.kt, keep the package line if your package differs, then replace the remaining file with the code below. Remove the template's old sample functions and preview functions from this file so there is only one MainActivity. An Activity is an Android entry point that hosts an interface. The example below includes the Activity and its imports.
package com.example.aurataskpanel
import android.os.Bundle
import androidx.activity.ComponentActivity
import androidx.activity.compose.setContent
import androidx.compose.foundation.layout.*
import androidx.compose.foundation.rememberScrollState
import androidx.compose.foundation.verticalScroll
import androidx.compose.material3.*
import androidx.compose.runtime.*
import androidx.compose.runtime.saveable.rememberSaveable
import androidx.compose.ui.Modifier
import androidx.compose.ui.unit.dp
import androidx.compose.ui.unit.sp
import androidx.xr.compose.platform.LocalSpatialCapabilities
import androidx.xr.compose.spatial.Subspace
import androidx.xr.compose.subspace.SpatialPanel
import androidx.xr.compose.subspace.layout.SubspaceModifier
import androidx.xr.compose.subspace.layout.height
import androidx.xr.compose.subspace.layout.width
class MainActivity : ComponentActivity() {
	override fun onCreate(savedInstanceState: Bundle?) {
        super.onCreate(savedInstanceState)
    	setContent {
            MaterialTheme(colorScheme = darkColorScheme()) {
                TaskApp()
        	}
    	}
	}
}
@Composable
private fun TaskApp() {
	val steps = listOf(
    	"Check that the training area is clear.",
        "Confirm the training device is charged.",
    	"Open the approved training application."
	)
	var completed by rememberSaveable { mutableIntStateOf(0) }
	val content: @Composable () -> Unit = {
    	TaskPanel(
        	steps = steps,
            completed = completed,
            onComplete = {
            	if (completed < steps.size) completed++
        	},
            onRestart = { completed = 0 }
    	)
	}
	if (LocalSpatialCapabilities.current.isSpatialUiEnabled) {
    	Subspace {
            SpatialPanel(
                modifier = SubspaceModifier
                    .width(640.dp)
                    .height(540.dp)
        	) {
                content()
        	}
    	}
	} else {
    	content()
	}
}
@Composable
private fun TaskPanel(
	steps: List<String>,
	completed: Int,
	onComplete: () -> Unit,
	onRestart: () -> Unit
) {
	val finished = completed >= steps.size
    Surface(modifier = Modifier.fillMaxSize()) {
    	Column(
            modifier = Modifier
                .fillMaxSize()
                .verticalScroll(rememberScrollState())
                .padding(24.dp),
            verticalArrangement = Arrangement.spacedBy(16.dp)
    	) {
            Text("Training station preparation", fontSize = 28.sp)
            Text("Demo procedure v1.0", fontSize = 18.sp)
        	Text(
                "$completed of ${steps.size} tasks acknowledged",
                fontSize = 20.sp
        	)
        	Text(
            	if (finished) "Checklist complete"
                else "Task ${completed + 1}: ${steps[completed]}",
                fontSize = 26.sp
        	)
        	Text(
                "Your confirmation does not verify physical work.",
                fontSize = 18.sp
        	)
        	Button(
                onClick = onComplete,
                enabled = !finished,
                modifier = Modifier
                    .fillMaxWidth()
                    .heightIn(min = 64.dp)
        	) {
                Text("Mark complete", fontSize = 22.sp)
        	}
            OutlinedButton(
                onClick = onRestart,
                modifier = Modifier
                    .fillMaxWidth()
                    .heightIn(min = 64.dp)
        	) {
                Text("Restart demo", fontSize = 22.sp)
        	}
    	}
	}
}
What the code does
· steps holds the instruction text
· completed counts acknowledgements and prevents advancing beyond the last task
· rememberSaveable retains that small value through supported Android screen recreation and state restoration; it is not permanent storage
· LocalSpatialCapabilities checks whether spatial UI is available [7]
· Subspace creates an area for spatial content, and SpatialPanel places the interface inside it [8]
· The fallback branch shows the same content in a normal window when spatial UI is unavailable
The dp unit scales layout dimensions for screen density; sp scales text and respects font-size preferences. The scroll container keeps longer instructions reachable. Treat the panel size as a starting point and check readability on Aura.
Checkpoint: Android Studio recognises the imports and shows no Kotlin syntax errors. If your installed library requires an experimental API opt-in, use the exact annotation named by its compiler diagnostic and check that release's API reference.
Step 5 Check how the app starts in Android XR
Configure the launch mode so Android XR can open the app with the spatial layout used in this example.
On Aura glasses, Home Space and Full Space are already built into Android XR and control how running apps appear. The XR Glasses emulator provides these modes for development, so no separate installation is needed.
In Android Studio’s Project Panel > Open app > manifests > AndroidManifest.xml and inspect the MainActivity entry. Retain its MAIN and LAUNCHER intent filter, exported setting and generated theme. For Compose-managed Full Space, the relevant property is shown below. If the template already declares a launch property at application or Activity level, edit the relevant existing value instead of duplicating it. [9]
<!-- Inside the existing MainActivity element -->
<property
    android:name="android.window.PROPERTY_XR_ACTIVITY_START_MODE"
    android:value="XR_ACTIVITY_START_MODE_FULL_SPACE_MANAGED" />
Managed Full Space means Android manages the spatial scene for the Activity. The UNMANAGED value is intended for apps that render through OpenXR, a cross-platform XR interface; this Compose example does not use it. Check the manifest constants reference when comparing templates. [9]
In the existing application element, also retain or add android:enableOnBackInvokedCallback="true" so the spatial panel receives back events, as Google's panel guide documents; its example sets it on the activity element, and it is also valid on the application element. Do not add camera, microphone or scene-understanding permissions for this static checklist. It does not read the room or identify objects. [8]
Step 6 Create an XR glasses emulator and run the app
Run the app on a simulated XR glasses device before connecting Aura. An emulator simulates a device on your computer; an AVD is its saved configuration.
· In Android Studio > Open Tools > Device Manager. Click the add-device control and choose Create Virtual Device.
· Under Form Factor, choose XR, then XR Glasses. Click Next.
· Select the Preview API system image required for the XR Glasses profile and download it if prompted. Match the supported image architecture to your computer. Finish the configuration.
· Start the AVD using its play control. Wait for the Android XR environment to finish loading.
· In Android Studio's top toolbar, select the app run configuration and the running XR Glasses device. Click Run, the green triangle.
The emulator installs and opens the app. Use its input controls to activate Mark complete. If the panel stays in Home Space, check the manifest and the environment's Full Space controls before changing the Kotlin layout. See the official AVD instructions.
Run this acceptance check:
· The first screen shows zero of three tasks acknowledged and the first instruction
· Each Mark complete activation advances exactly one instruction
· The third activation shows Checklist complete and disables Mark complete
· Restart demo restores the first instruction and zero acknowledgements
· Longer text remains reachable by scrolling
· The content still appears when spatial UI is unavailable
A successful emulator test validates part of the application logic and layout. It does not validate Aura optics, input reliability or workplace suitability.
Step 7 Deploy to authorised Aura hardware
The steps below follow the standard Android debugging process. Aura's menus and connection options can vary by software version, so follow the kit-specific instructions where they differ.
Connect Aura and run the app
· Start Aura with the glasses connected and open its Settings app
· On Aura > in its setting interface > enable Developer options and debugging using the kit's instructions; obtain the developer setup guide if those controls are unavailable
· Connect the computer to the compute puck’s Charging Port (left side) with a USB data cable and leave the glasses on the Glasses Port (right side); In case that doesn’t work, plug it into the right side port for full ADB support.
· Accept the device's debugging authorisation prompt; a managed device may require administrator approval
· In Android Studio's top toolbar, select Aura in the device dropdown and click Run
· On Aura, repeat the task-panel checks from Step 6, including advancing tasks and restarting the checklist
Troubleshoot device connection
If Aura does not appear in the Android Studio target selector, verify the connection using ADB:
- Open View > Tool Windows > Terminal in Android Studio.
- Run the following command:
adb devices -lCheck the output:
· If your device is listed with device, it is connected and authorised.
· If it shows unauthorized, put on the glasses and accept the USB debugging prompt on the screen.
· If the list is empty, re-check the USB data cable, ensure the computing puck is powered on, and confirm USB debugging remains enabled in Settings.
Conclusion
Building a first XREAL Aura business app starts with Android Studio, Kotlin and the Jetpack XR SDK, then progresses from a simple work-instructions panel to emulator testing and authorized hardware deployment. This approach gives businesses a focused way to evaluate whether spatial instructions improve a real workflow before investing in integrations and fleet rollout. Once the panel is readable, usable and validated on Aura, the next step is to connect approved procedures and reliable work records to the company's systems.
Talk to VR Expert about Aura availability and the hardware, software development and support requirements for your business pilot.