

Executive Summary
To connect XREAL Aura to a business system, run an authorized company app on its Android XR compute puck and let that app request data from the system's API. An API is a software connection that lets one application retrieve information from another. This guide builds a small app that retrieves a work order and displays its instructions on Aura.
A maintenance work order is a useful first integration because it combines a record number, equipment details and practical instructions. The app retrieves those fields through an authorized connection and presents them in a readable window. You can adapt the same approach to other business records when their APIs and access rules allow it.
How XREAL Aura Business Integration Works
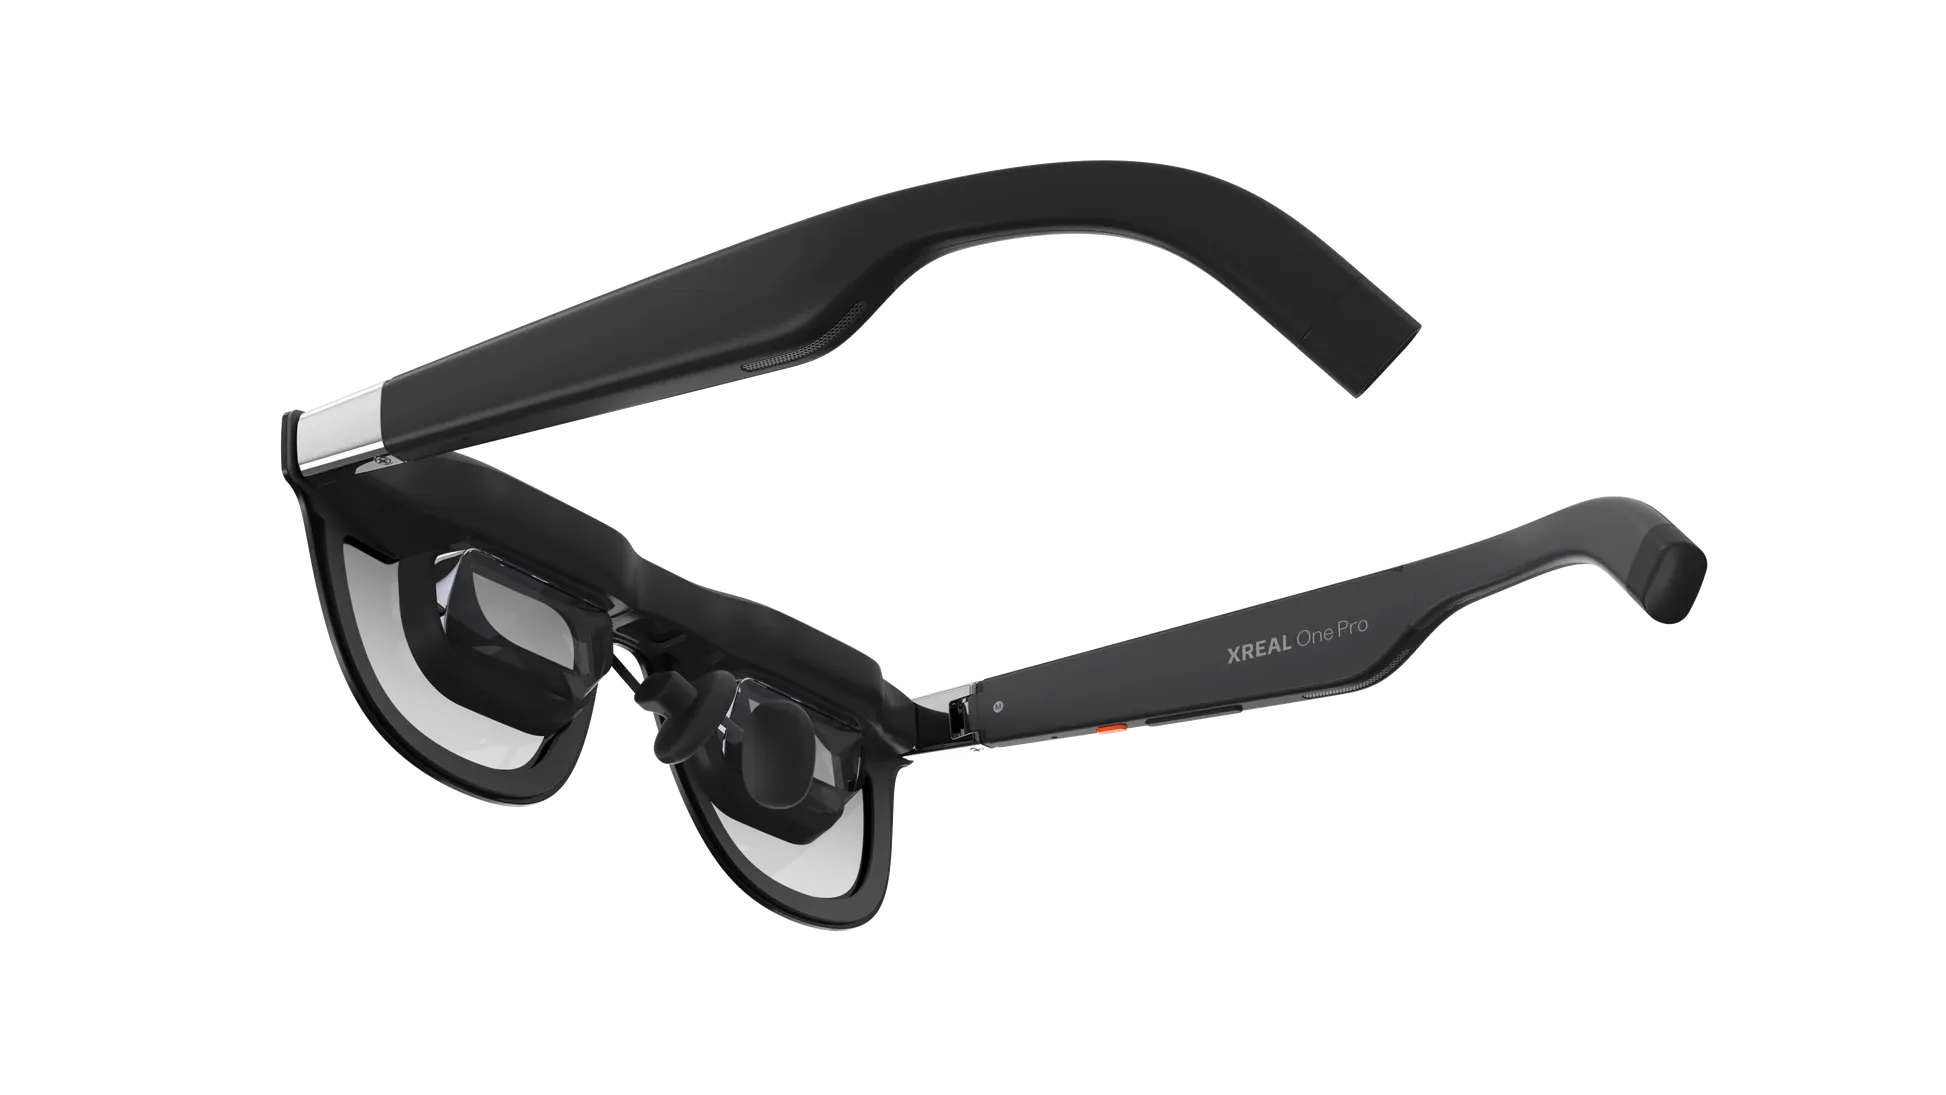
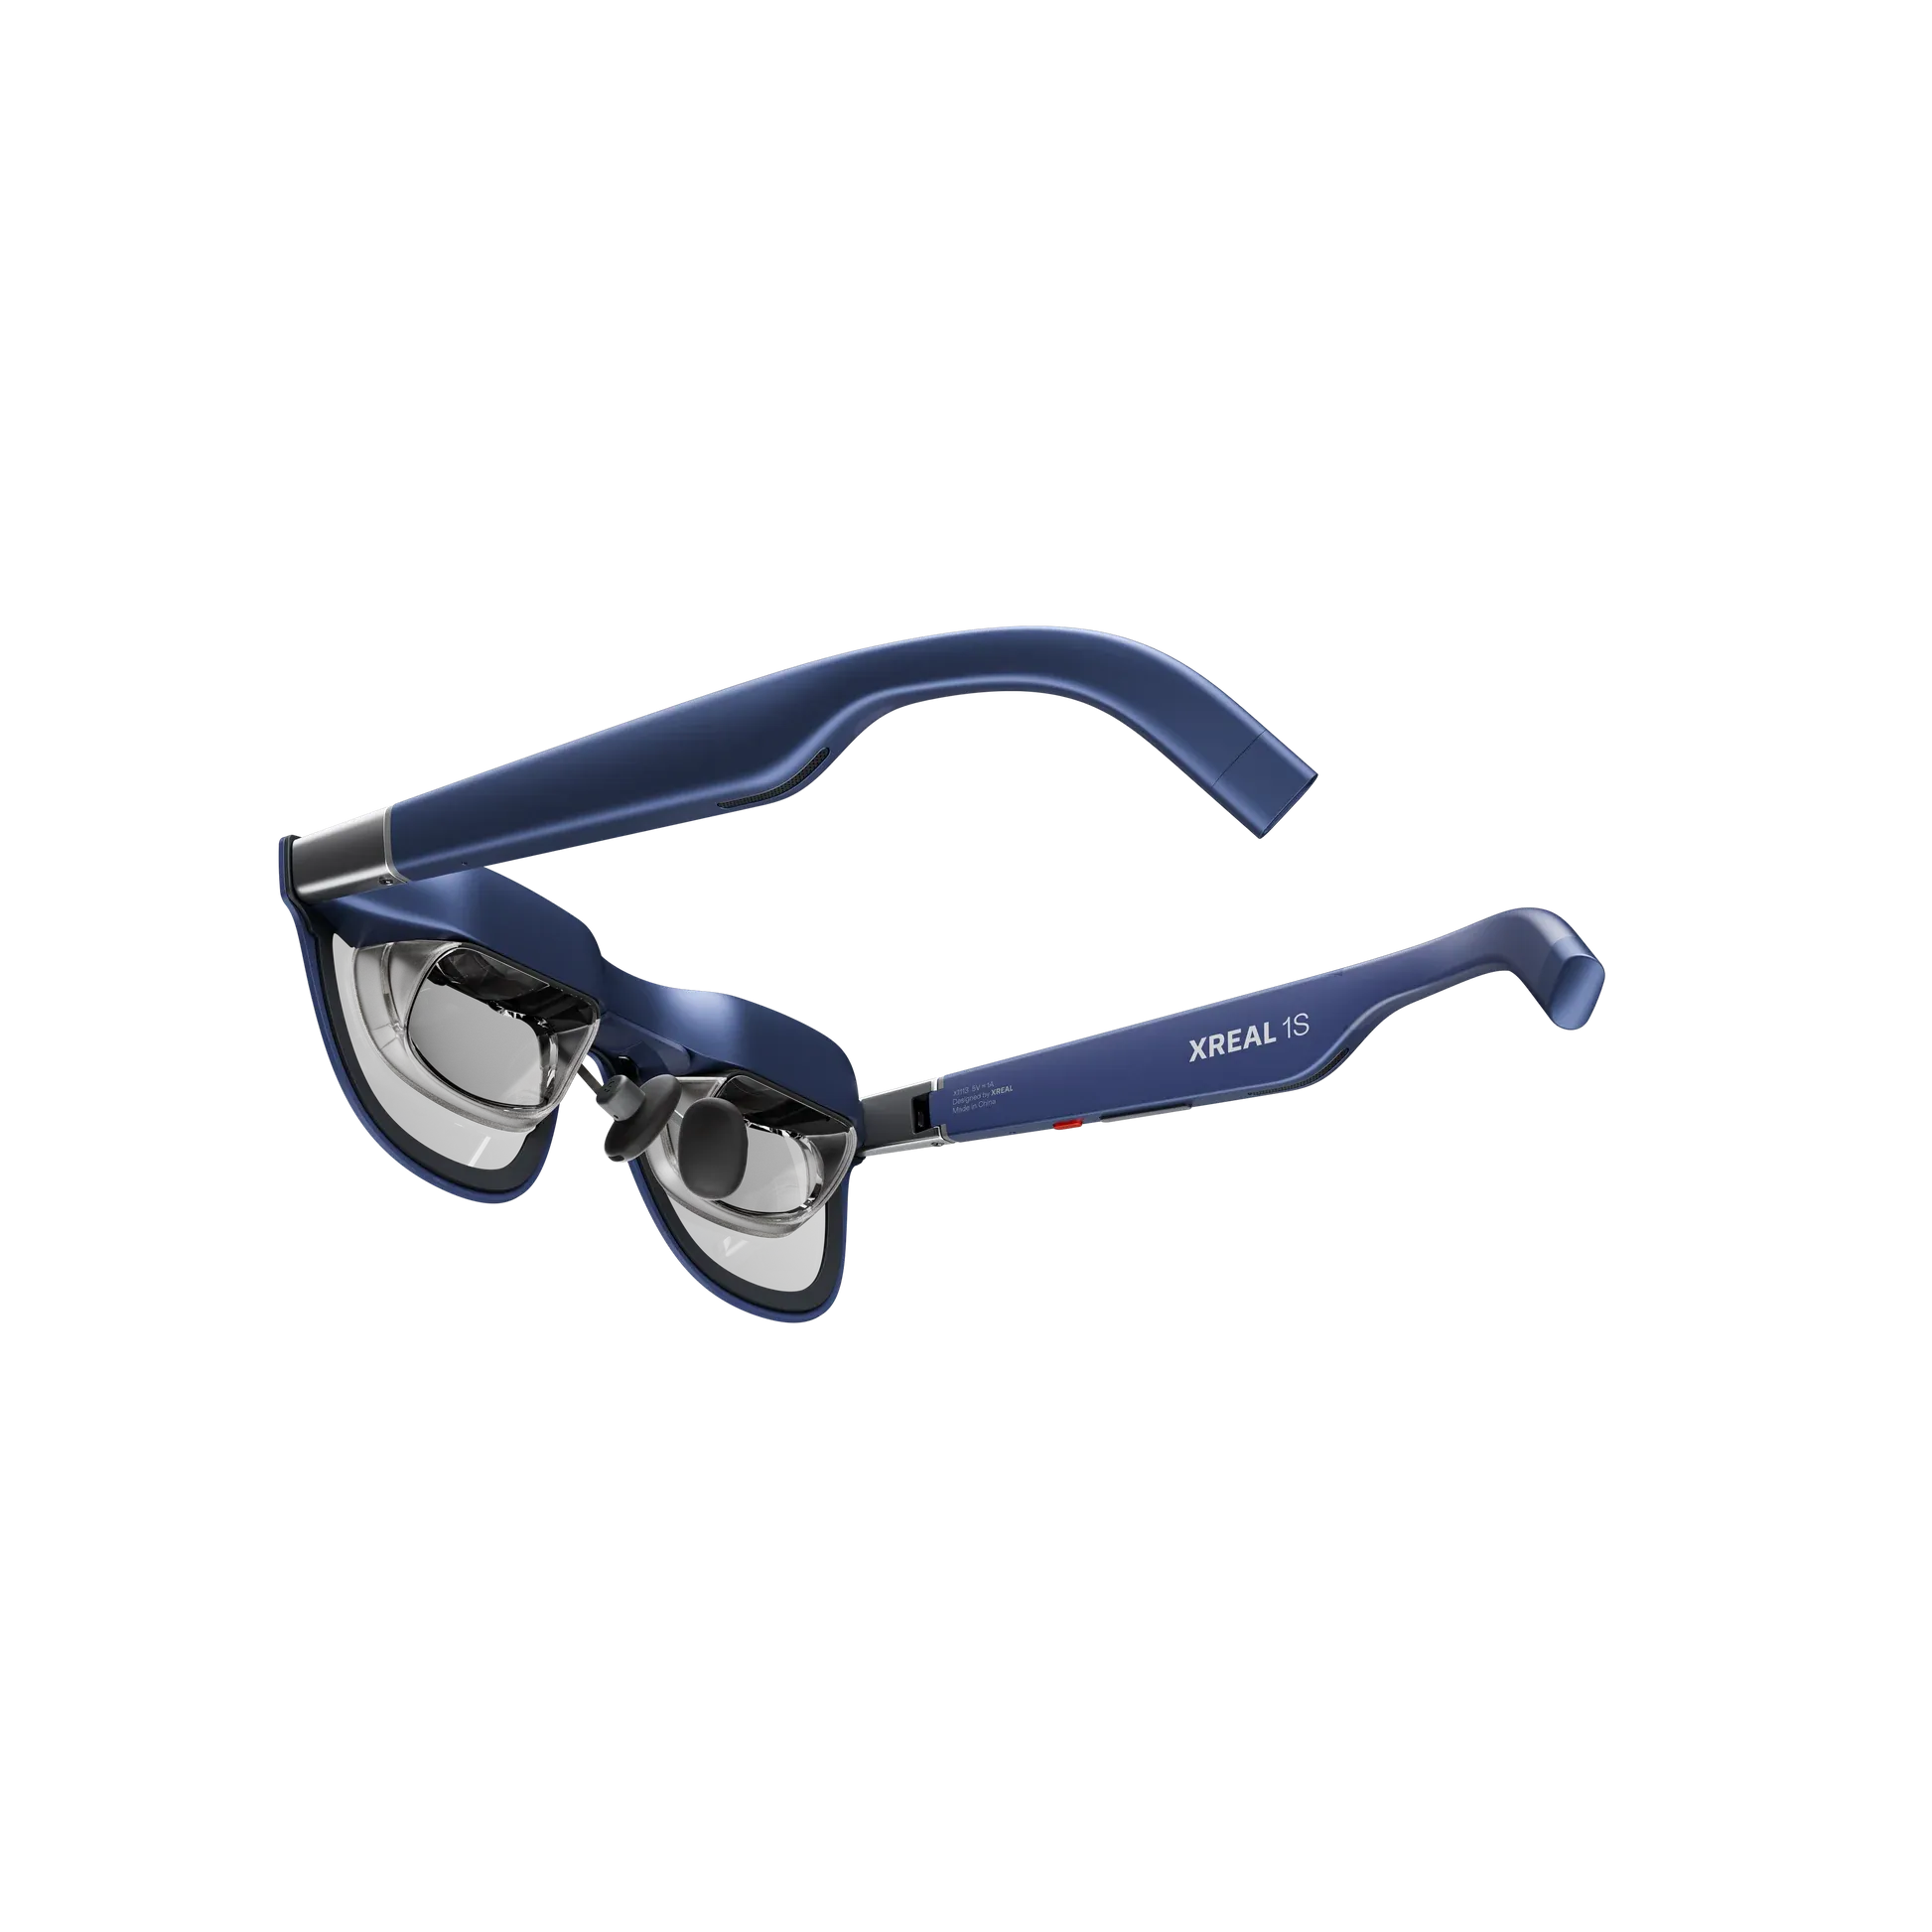
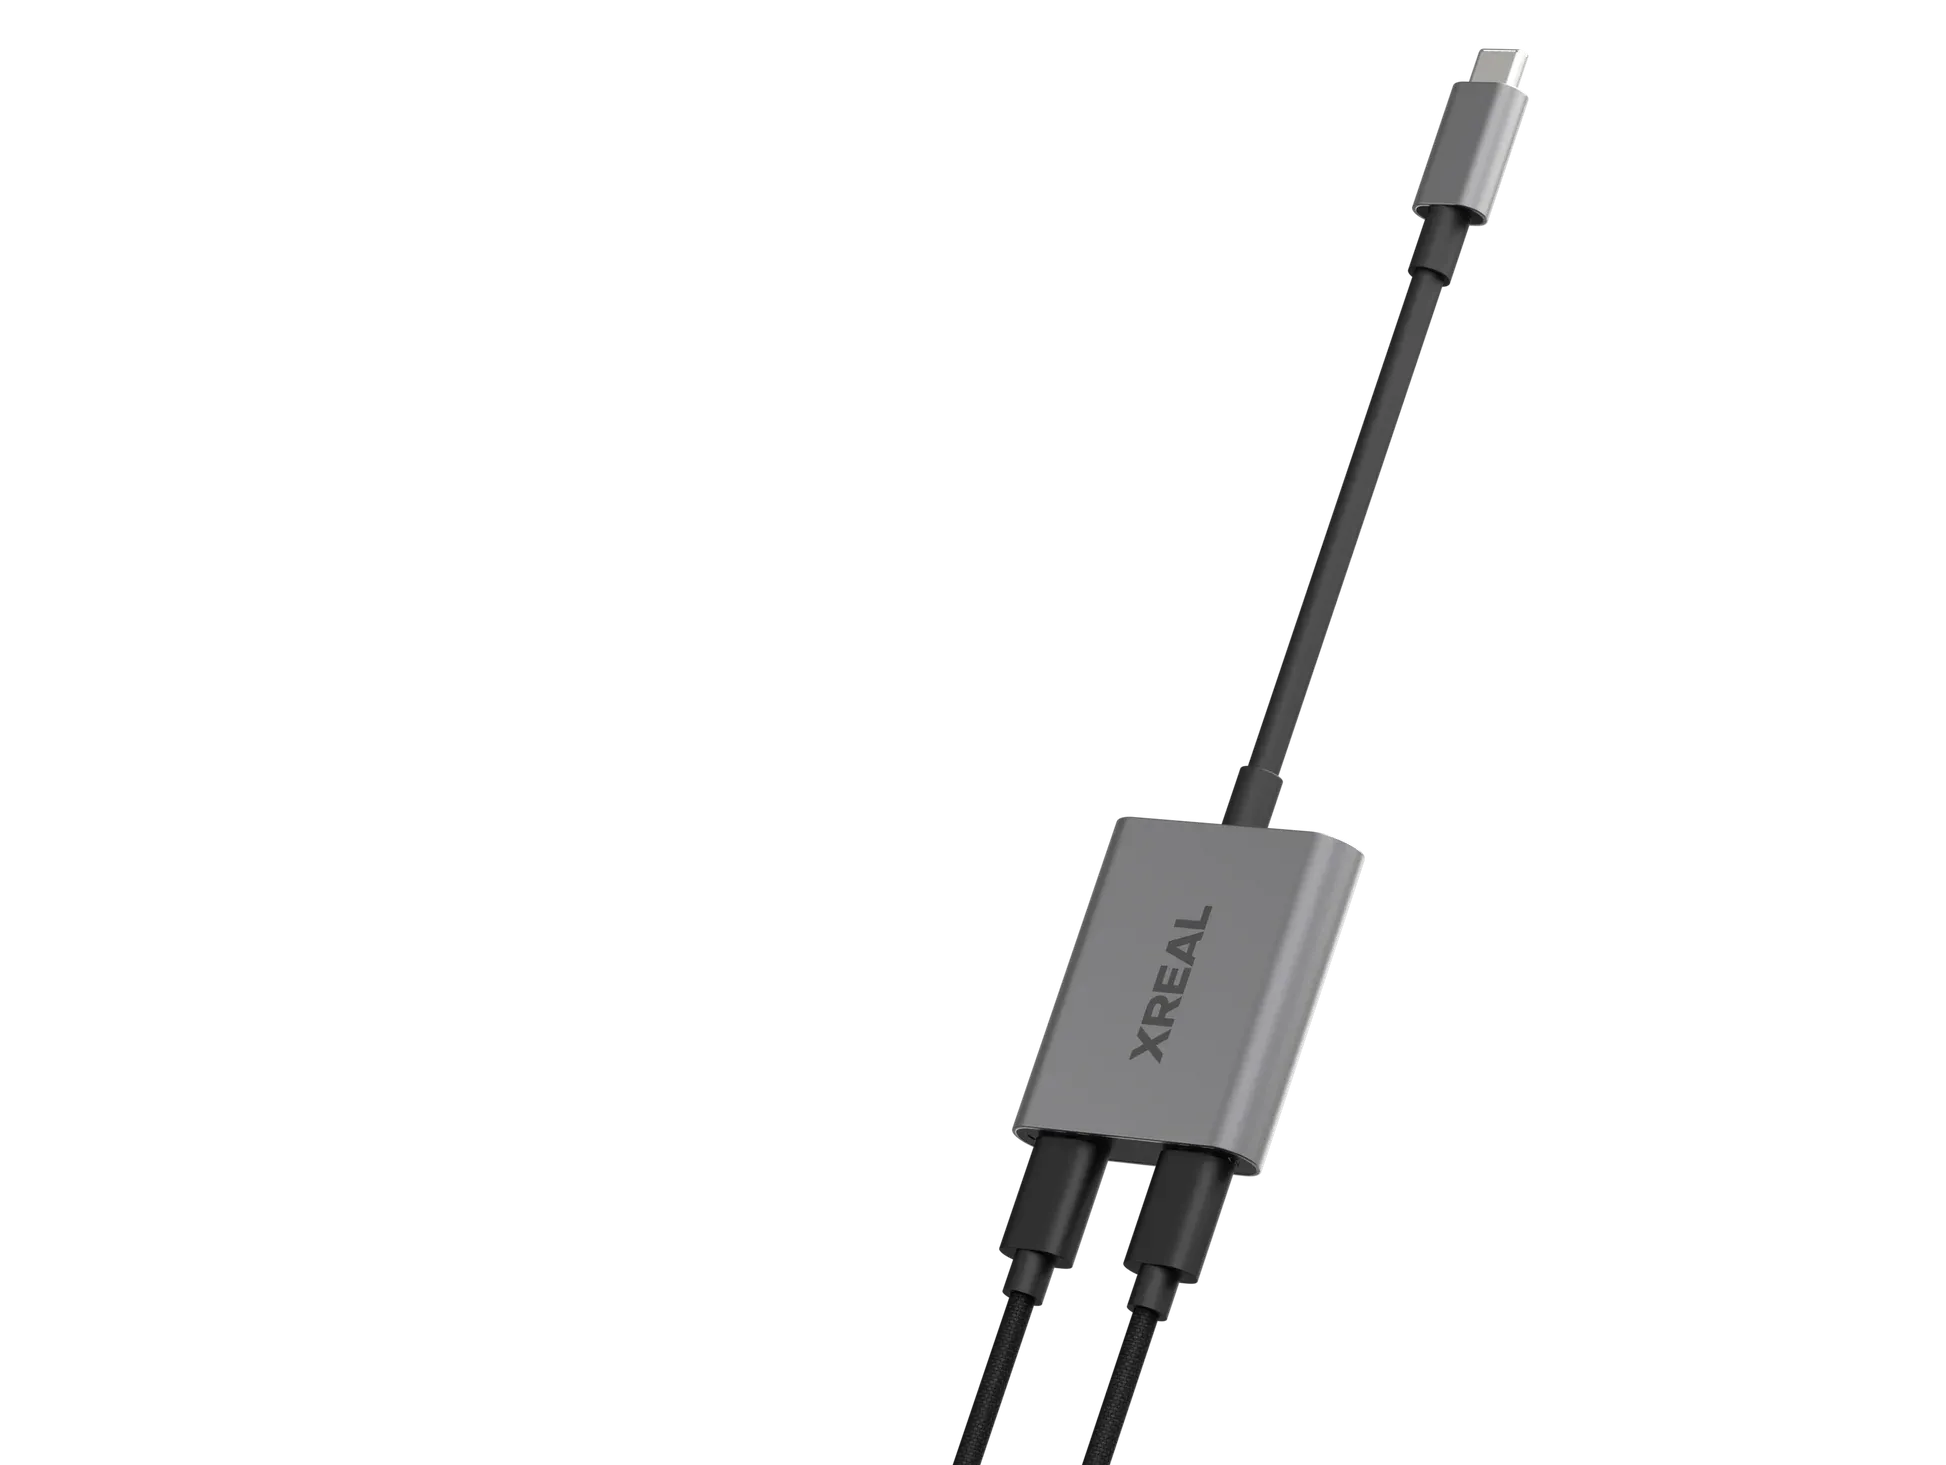
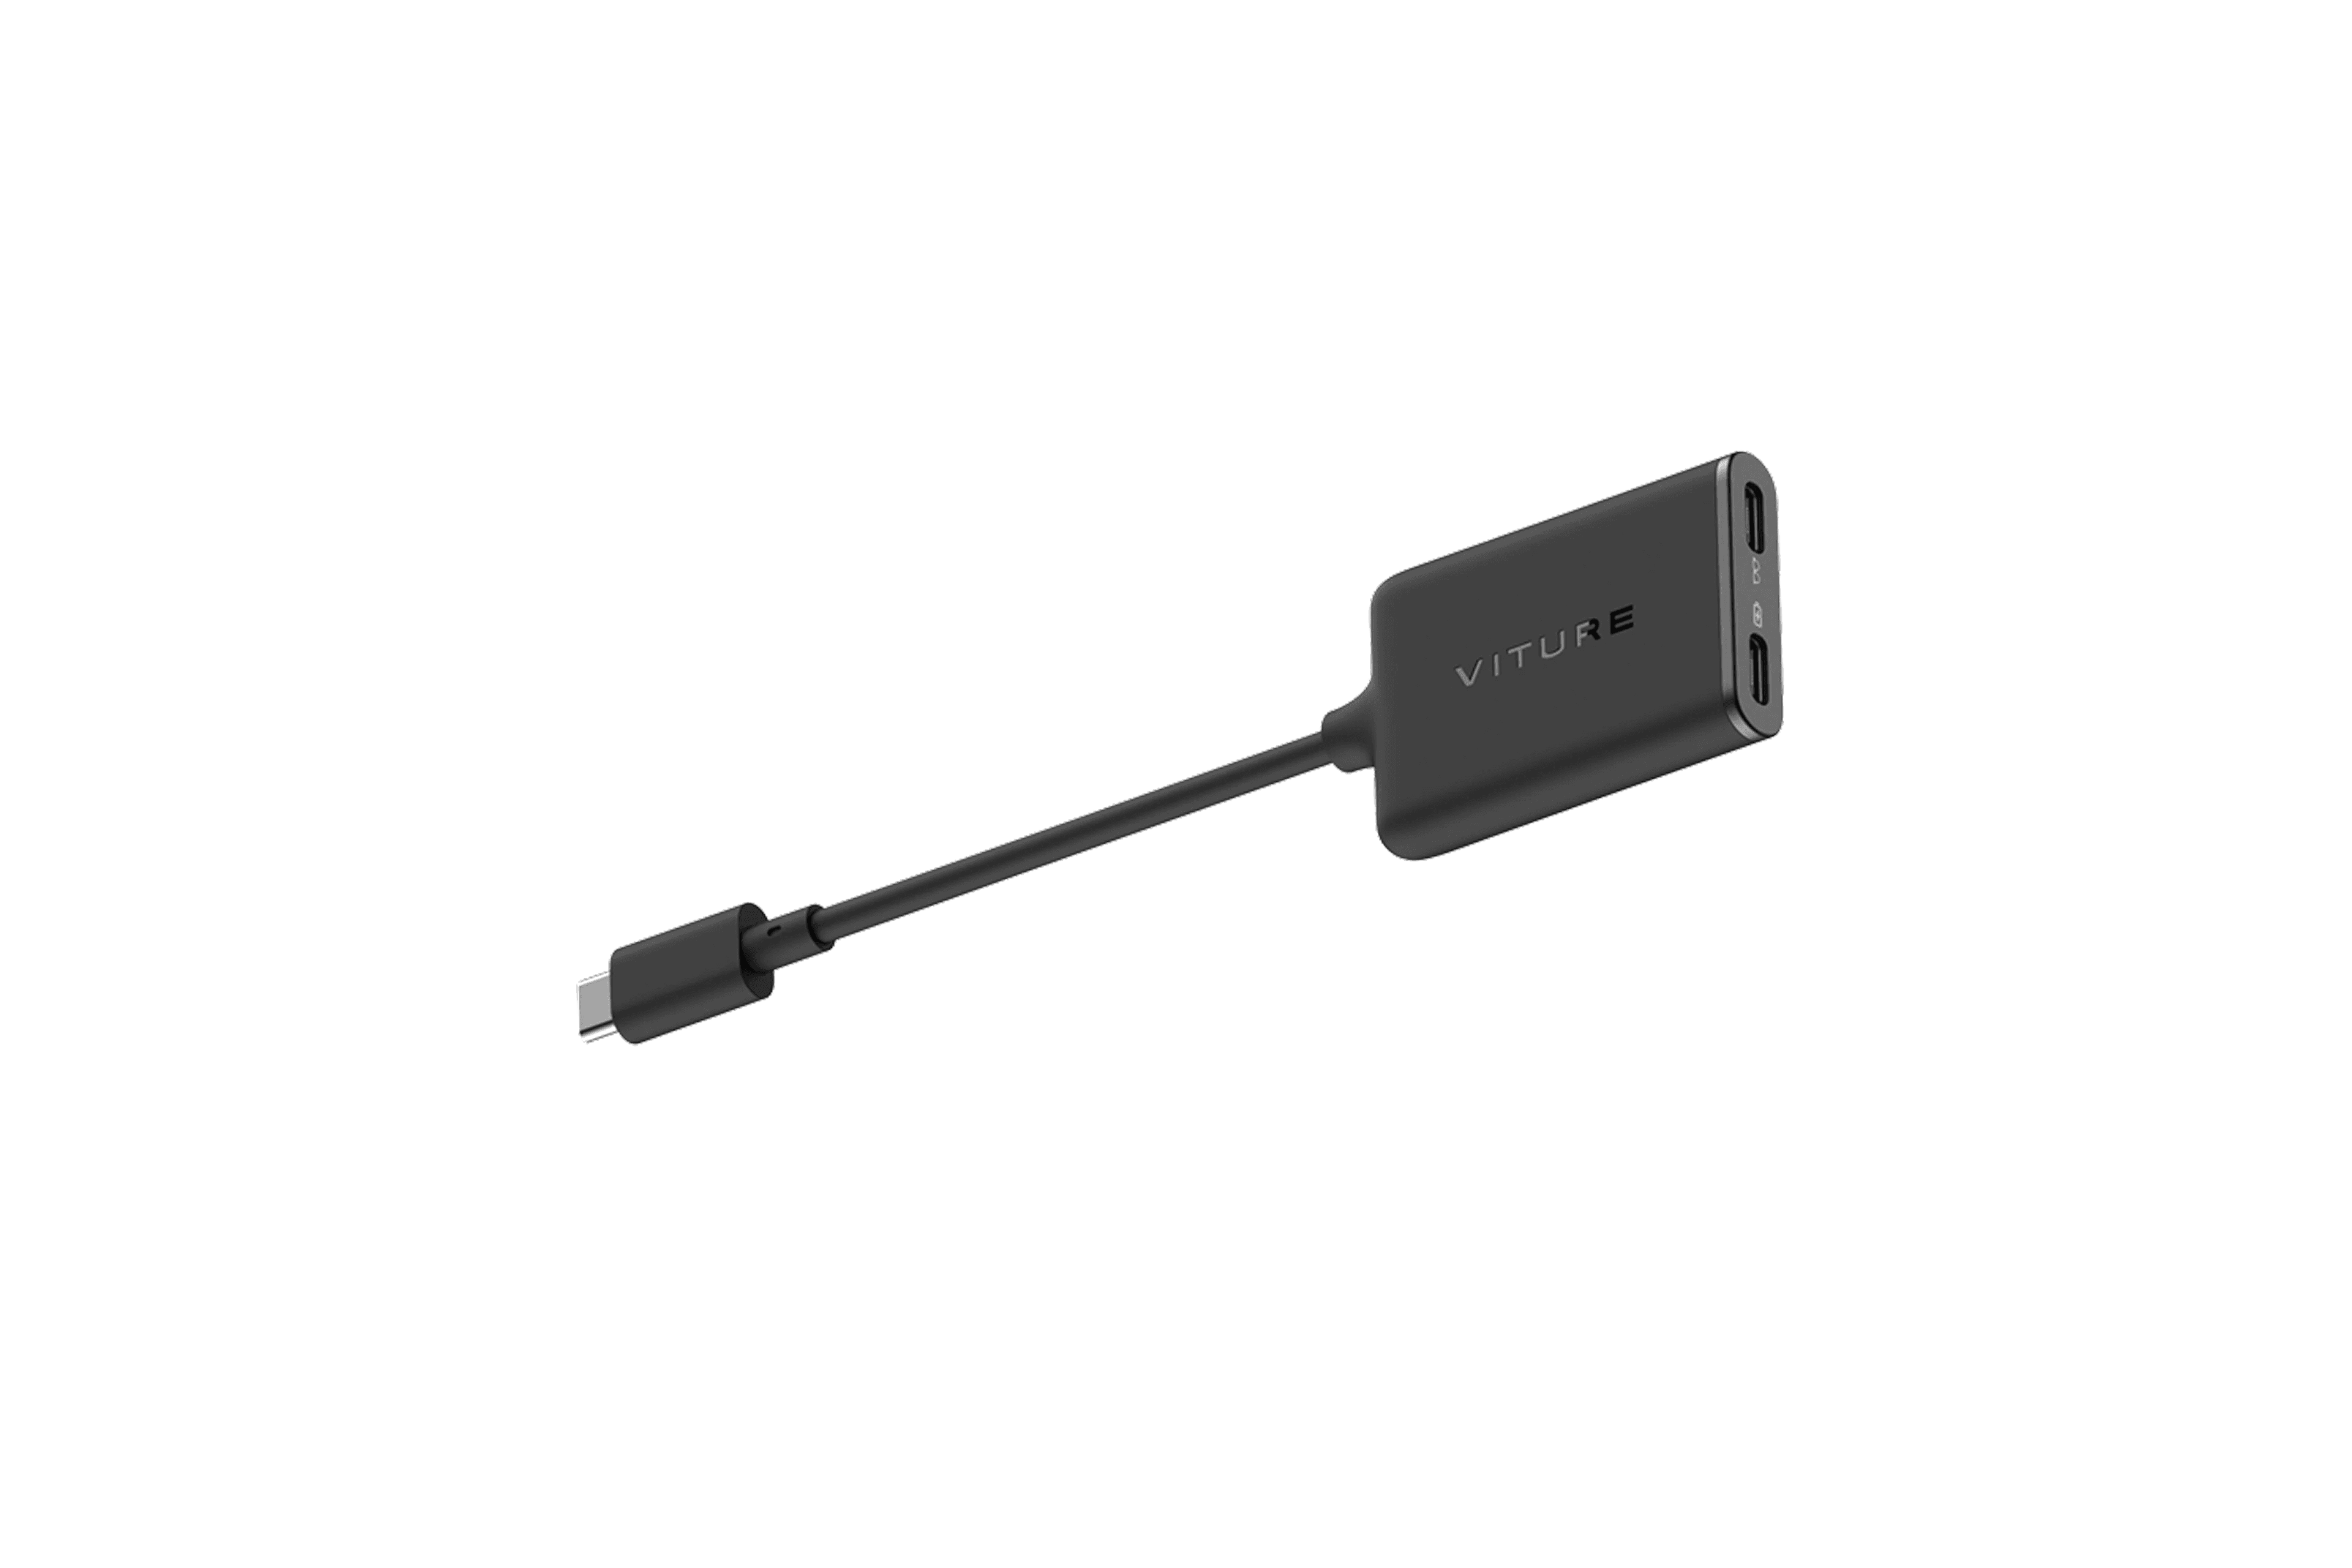
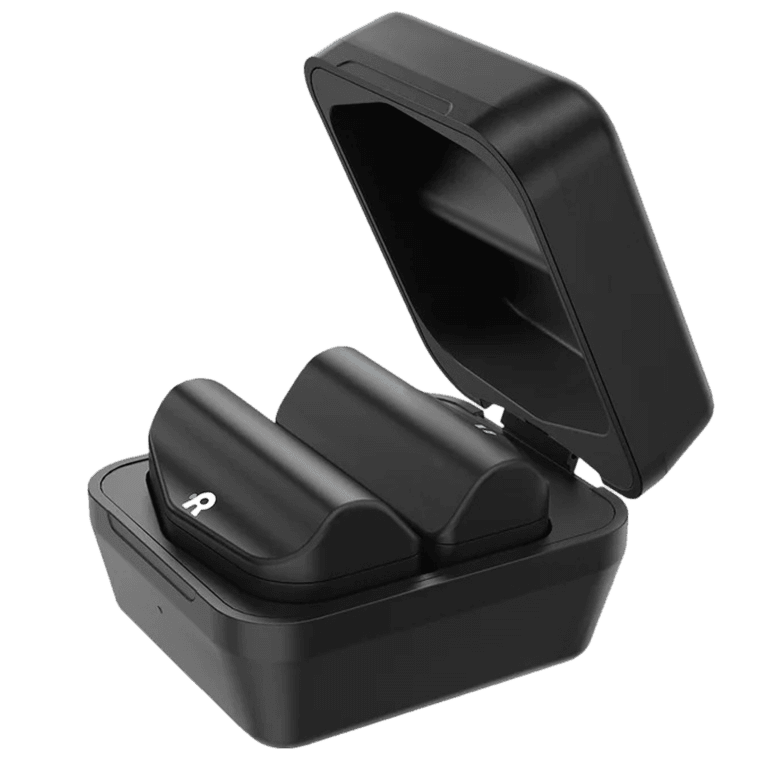
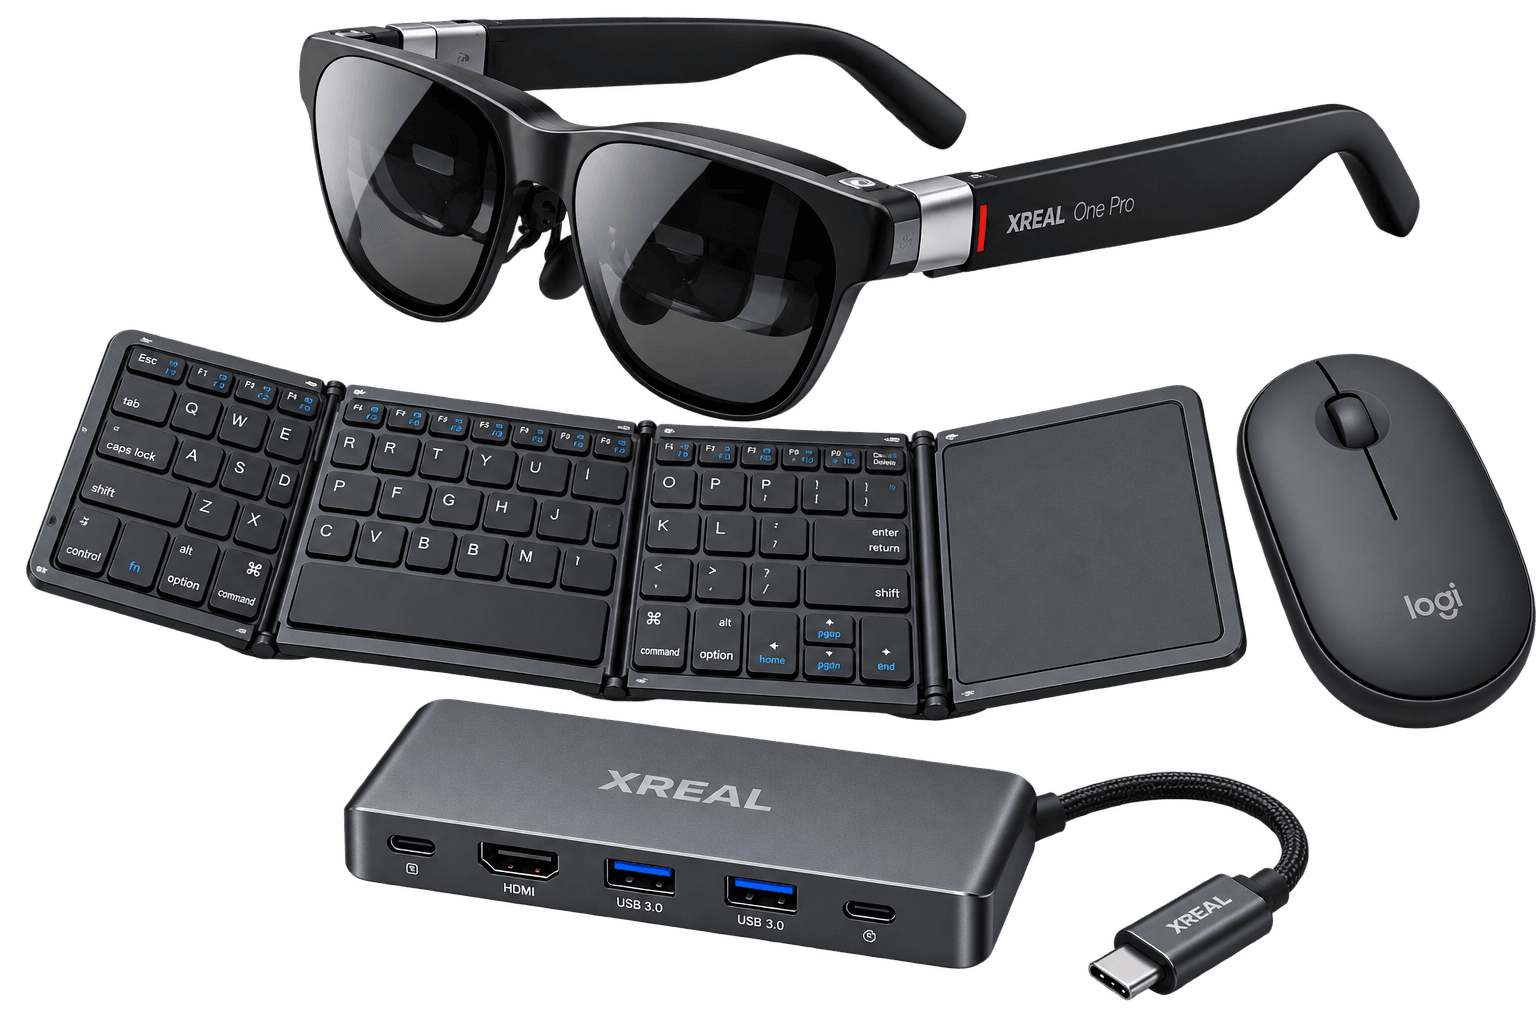
XREAL Aura uses wired glasses and a compute puck, the small computer that runs Android XR and your app. The app connects to the company system through Wi-Fi and an approved network route, and the glasses show the returned information. [1]
A work order describes a job and the instructions for carrying it out. An employee enters the order number in the Aura app and selects Load work order. The app requests that record from the business system, then shows the equipment name, procedure version and detailed instructions. Next and Previous let the employee move through the instructions while the source record remains unchanged.
If your company already has an Android app that displays these records, ask its developer to check whether it runs correctly on Android XR before building a new one. Google supports standard Android interfaces (such as a 2D mobile or large-screen Android app) displayed in an XR system panel, which is a 2D window shown inside the XR environment. An existing app still needs compatibility and access testing. [4]
For hardware context, see our XREAL Aura product page. Confirm current availability and support for your country, since launch information changes. [2]
Step 1 Get a Test Work Order and Its Connection Details
Your Aura app needs a record to display and permission to retrieve it from your company system. A work order is a job record containing an order number, equipment details and instructions, such as the steps for inspecting a machine.
· Before writing the code, make sure you have an HTTPS endpoint, a test access token and a sample work order number (e.g., WO-1001) that matches the JSON schema in the Developer reference.
· Ask your IT team for the API address that retrieves this order and a temporary test access token. The API address tells the app where to request the record, and the token gives it permission to read the data. Ask IT to confirm that both work and whether company network access is required.
· Share the Developer reference at the end of this article with IT so they can check that the returned data matches the example app. If it differs, update the code in Step 3 to read your system's field names. If no suitable API exists, IT must provide one first.
Keep these three items ready: the API address goes into the code in Step 3, and the token and work order number go into the running app in Step 4. Together, they let the app retrieve the job and display its instructions on Aura.
Step 2 Open Android Studio and Prepare the App
Step 2.1 Create the Project on Your Computer
· In your computer's browser, open the official Android Studio download page. Install Android Studio and complete its setup. If you need Google's dedicated XR tools, follow its Android Studio for XR setup guide, which currently recommends a Canary build, an early development version. [5]
· Open Android Studio. On the welcome screen, select New Project. If another project is open, select File > New > New Project from Android Studio's top menu.
· In the project window, select Phone and Tablet > Empty Activity. Select Next.
· Set Name to AuraWorkOrders and Package name to com.example.auraworkorders. Use Kotlin where a language option appears, keep the template's SDK settings and select Finish.
· Wait until Android Studio finishes Gradle sync. Gradle is the build tool that prepares the project's libraries and settings. Resolve any errors in the Build or Sync window before continuing.
Step 2.2 Allow the App to Access the Network
The manifest is the Android file that declares what the app needs, including network permission.
· In Android Studio's Project pane on the left, select the Android view from its dropdown. If the pane is hidden, select View > Tool Windows > Project.
· In that pane, expand app > manifests and open AndroidManifest.xml.
· Inside the manifest element, above the application element, add this line. Keep the rest of the generated file.
<uses-permission android:name="android.permission.INTERNET" />· In the same file, locate the opening application tag. Add android:usesCleartextTraffic="false" as an attribute inside that tag. Android already blocks unencrypted HTTP for apps that target Android 9 or newer, so this line makes the intention explicit.
The INTERNET permission is granted during installation, so it does not trigger an access prompt when the app runs. [6] The example uses Android's built-in networking and JSON tools, so you do not need to add Retrofit or another networking library.
Step 3 Add the Code That Retrieves and Displays the Work Order
This code connects the app to the address from Step 1, reads the response and displays one instruction at a time. The network request runs separately from the interface so the screen stays responsive.
Step 3.1 Open the Correct File in Android Studio
· In Android Studio's Project pane on the left, expand app > kotlin+java > com.example.auraworkorders. Some versions label the source folder java.
· Open MainActivity.kt. This file controls the app's opening screen.
· Replace its contents with the code below. If your package name differs, change the first line to match the package you created in Step 2.
package com.example.auraworkorders
import android.os.Bundle
import androidx.activity.ComponentActivity
import androidx.activity.compose.setContent
import androidx.compose.foundation.layout.*
import androidx.compose.foundation.rememberScrollState
import androidx.compose.foundation.verticalScroll
import androidx.compose.material3.*
import androidx.compose.runtime.*
import androidx.compose.ui.Modifier
import androidx.compose.ui.text.input.PasswordVisualTransformation
import androidx.compose.ui.unit.dp
import org.json.JSONObject
import java.net.URL
import java.util.concurrent.Executors
import javax.net.ssl.HttpsURLConnection
data class WorkStep(
    val number: Int, val title: String,
    val instruction: String, val expectedResult: String
)
data class WorkOrder(
    val id: String, val asset: String,
    val revision: String, val steps: List<WorkStep>
)
fun fetchOrder(id: String, token: String): WorkOrder {
    require(Regex("[A-Za-z0-9-]{1,40}").matches(id))
    // Replace only this origin with your approved API origin.
    val url = URL("https://api.your-company.example/work-orders/$id")
    val c = url.openConnection() as HttpsURLConnection
    try {
    	c.requestMethod = "GET"
    	c.instanceFollowRedirects = false
    	c.connectTimeout = 10000
    	c.readTimeout = 10000
        c.setRequestProperty("Authorization", "Bearer $token")
        c.setRequestProperty("Accept", "application/json")
    	val status = c.responseCode
    	check(status == 200) { "HTTP $status" }
    	val text = c.inputStream.bufferedReader().use { it.readText() }
    	val obj = JSONObject(text)
    	check(obj.getString("id") == id) { "Order ID mismatch" }
    	val array = obj.getJSONArray("steps")
    	check(array.length() > 0) { "No instructions available" }
    	val steps = (0 until array.length()).map { index ->
        	val s = array.getJSONObject(index)
            WorkStep(s.getInt("number"), s.getString("title"),
                s.getString("instruction"), s.getString("expectedResult"))
    	}.sortedBy { it.number }
    	return WorkOrder(obj.getString("id"), obj.getString("asset"),
            obj.getString("revision"), steps)
    } finally {
    	c.disconnect()
    }
}
class MainActivity : ComponentActivity() {
    private val worker = Executors.newSingleThreadExecutor()
    override fun onCreate(savedInstanceState: Bundle?) {
    	super.onCreate(savedInstanceState)
    	setContent {
        	MaterialTheme {
            	WorkOrderScreen { id, token, done ->
                	worker.execute {
                    	val result = runCatching { fetchOrder(id, token) }
                    	runOnUiThread {
                        	if (!isDestroyed) done(result)
                    	}
                	}
            	}
        	}
    	}
    }
    override fun onDestroy() {
    	worker.shutdownNow()
    	super.onDestroy()
    }
}
@Composable
fun WorkOrderScreen(
    load: (String, String, (Result<WorkOrder>) -> Unit) -> Unit
) {
    var id by remember { mutableStateOf("WO-1001") }
    var token by remember { mutableStateOf("") }
    var order by remember { mutableStateOf<WorkOrder?>(null) }
    var index by remember { mutableStateOf(0) }
    var busy by remember { mutableStateOf(false) }
    var message by remember { mutableStateOf("Enter test credentials.") }
    Surface(Modifier.fillMaxSize()) {
    	Column(Modifier.padding(24.dp)
            .verticalScroll(rememberScrollState()),
        	verticalArrangement = Arrangement.spacedBy(16.dp)) {
        	Text("Work instructions", style = MaterialTheme.typography.headlineMedium)
        	OutlinedTextField(value = id, onValueChange = { id = it },
            	label = { Text("Work order ID") },
            	singleLine = true, enabled = !busy)
        	OutlinedTextField(value = token, onValueChange = { token = it },
            	label = { Text("Sandbox access token") }, singleLine = true,
            	visualTransformation = PasswordVisualTransformation(),
            	enabled = !busy)
        	Button(enabled = !busy && token.isNotBlank() &&
                Regex("[A-Za-z0-9-]{1,40}").matches(id), onClick = {
            	busy = true
            	order = null
            	index = 0
            	message = "Loading work order..."
            	load(id, token) { result ->
                	busy = false
                	result.onSuccess {
                    	order = it
                    	message = "Read-only instructions loaded."
                	}.onFailure {
                    	message = "Could not load order. Check access and network."
                	}
            	}
        	}) { Text(if (busy) "Loading..." else "Load work order") }
        	Text(message)
        	order?.let { current ->
            	Text("${current.id} | ${current.asset}")
            	Text("Procedure revision ${current.revision}")
            	val step = current.steps[index]
            	Text("Step ${index + 1} of ${current.steps.size}",
                	style = MaterialTheme.typography.titleLarge)
            	Text(step.title, style = MaterialTheme.typography.headlineSmall)
            	Text(step.instruction, style = MaterialTheme.typography.bodyLarge)
            	Text("Expected result: ${step.expectedResult}")
            	Row(horizontalArrangement = Arrangement.spacedBy(16.dp)) {
                	Button(enabled = index > 0,
                    	onClick = { index-- }) { Text("Previous") }
                	Button(enabled = index < current.steps.lastIndex,
                    	onClick = { index++ }) { Text("Next") }
            	}
            	Text("Navigation does not record task completion.")
        	}
    	}
    }
}
Step 3.2 Enter Your Company's API Address
· Stay in MainActivity.kt in Android Studio. Press Ctrl+F on Windows or Linux, or Command+F on macOS, and search for api.your-company.example.
· Replace the example URL in the URL(...) line with your company's endpoint pattern from Step 1. Keep $id where the work order number belongs. For example, if the server expects /api/jobs/WO-1001, the code should request https://YOUR-APPROVED-HOST/api/jobs/$id .· Do not put the token in this file. The app provides a temporary test field for it when you run the app.
· If your API response differs from the Developer reference, update the field names and structure that fetchOrder reads before running the app. In this function, JSONObject reads the response and getJSONArray("steps") opens its list of instructions.
· In Android Studio, select Build > Make Project if that command is available in your version, or use the Run button in the toolbar in Step 4 to compile the project. Fix any compilation errors in the Build window.
Expected result: the project builds, and the URL in MainActivity.kt points to your real test service. The sample address ending in .example will not connect to a business system.
Step 4 Test the Connection on Your Computer
An emulator is a virtual Android device displayed on your computer. Use it first to check the API address, token and returned instructions before troubleshooting a physical device.
Step 4.1 Start the App from Android Studio
· In Android Studio's top menu, select Tools > Device Manager.
· If a suitable Android virtual device already exists, select its start button. Otherwise, select Create Device or the plus button, choose a phone profile, select an available system image, download it if prompted and finish the wizard. Start the new device.
· Back in Android Studio's top toolbar, select that running device in the device dropdown. Keep app selected as the run configuration, then select the green Run button.
· Wait for the app to open in the emulator. You should see Work instructions, Work order ID, Sandbox access token and Load work order.
Step 4.2 Request the Business Record
· In the running app inside the emulator, select Work order ID and enter the test order number from Step 1.
· In the same app, select Sandbox access token and paste the temporary token supplied by IT. Paste only its value, without the word Bearer.
· Select Load work order. When the request succeeds, the app displays Read-only instructions loaded, followed by the order number, equipment name, procedure revision and first instruction.
· Select Next to read the next instruction. Select Previous to go back. Scroll within the app if an instruction extends below the window.
Expected result: the displayed record matches the record you opened in the business application in Step 1. If it does not load, use the troubleshooting section before moving on to Aura.
Step 5 Run the Same Connected App on XREAL Aura
Step 5.1 Prepare Aura for Development
· Turn on Aura using its compute puck. In Aura's Settings application, connect to a Wi-Fi network that can reach the API from Step 1. Ask IT to confirm any private network requirements.
· Follow the current development onboarding supplied by XREAL to enable debugging and connect the compute puck to your computer. Start with XREAL’s Aura FAQ (tutorials.xreal.com/docs/aura/troubleshooting/faq/), which includes the developer resources entry. Start there if you need the current instructions.
· In Aura's Settings application, open Developer options and enable the debugging method your device supports, following that onboarding. Authorize your development computer if Aura displays a prompt. Google's hardware device guide explains the general Android process. [7]
Exact Aura menu labels and cable arrangements depend on the hardware and firmware. XREAL Aura’s FAQ says both USB-C ports on the compute puck support standard ADB debugging with Android Studio, so connect the computer to the Charging Port on the left and leave the glasses on the Glasses Port on the right. The specification table lists full ADB support under the Glasses Port only, so try that port if the left one is not recognized, and use XREAL’s current instructions for enabling developer access. [1]
Step 5.2 Install the App from Android Studio
· On your computer, return to the AuraWorkOrders project in Android Studio.
· Open the device dropdown in Android Studio's top toolbar. Select your connected Aura development device instead of the emulator.
· If the device is missing, select Tools > Troubleshoot Device Connections in Android Studio and follow the connection assistant. Confirm debugging authorization and the connection method using XREAL's onboarding.
· Once the device appears, keep app selected as the run configuration and select the green Run button. Android Studio builds, installs and launches the app on the selected device.
Step 5.3 Retrieve the Record in the Glasses
· Put on Aura and find the Work instructions app window that Android Studio launched.
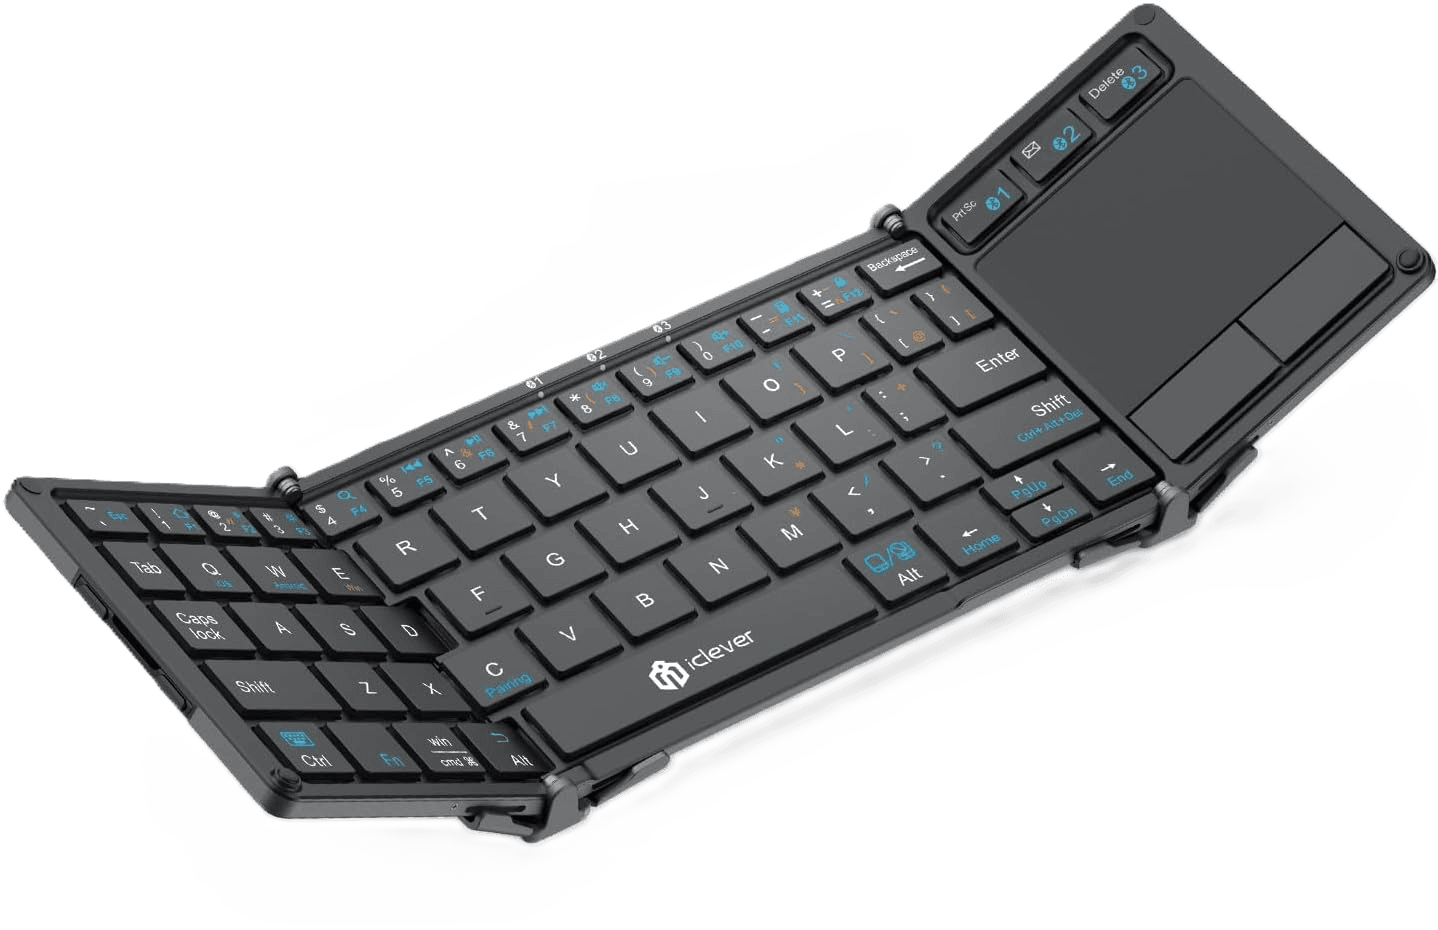
· In that window, enter the same test order number and temporary token you used in Step 4. Use the input methods available on your device. Standard Bluetooth keyboards and mice work with Aura (Settings > Connected Devices > Pair new device), and a compatible Bluetooth keyboard can simplify test entry. [1]
· Select Load work order, then use Next, Previous and scrolling to read its instructions.
· Compare the order number, equipment name and instruction text with the original record in your business application. If they match, you have demonstrated that the Aura app can retrieve and display that business record.
Common Problems and What to Check
· App does not build: In Android Studio, open View > Tool Windows > Build and read the first reported error. Check the package name and whether the Empty Activity project uses Compose and Material 3.
· App cannot load the order: In MainActivity.kt in Android Studio, confirm that the example hostname was replaced. Ask IT to check that the endpoint is reachable from the emulator or Aura network.
· API returns 401: The API did not accept the credential. Ask IT to check the token's validity and intended service, or get a new test token.
· API returns 403: The account lacks permission. Ask the business system administrator to grant the correct access.
· API returns 404: Check the order number and whether the endpoint points to the correct test environment.
· API returns data but the app fails: Ask the API developer to compare the response with the Developer reference. The sample requires a non-empty steps list and an id that matches the requested order.
· Works in the emulator but not on Aura: Confirm Aura's network route and API access, then check the app on the device. Do not disable HTTPS certificate checks to get around a connection error.
The sample shows the user a general failure message. For the exact API status, ask the administrator to inspect the server logs without exposing tokens or full work orders. For app errors, use View > Tool Windows > Logcat in Android Studio. Logcat displays application logs.
Developer Reference for the Example API
Use this section when checking the response in Step 1 or adapting fetchOrder in Step 3. It describes the contract for this example app, not an endpoint provided by XREAL.
Request: GET https://api.your-company.example/work-orders/WO-1001
Request headers: Authorization: Bearer <short-lived access token> and Accept: application/json
Expected successful response: HTTP 200 with this JSON structure
{
  "id": "WO-1001",
  "asset": "Training station A",
  "revision": "3",
  "steps": [
    {
  	"number": 1,
  	"title": "Confirm the training station",
  	"instruction": "Match the station label to this work order. Stop if the labels differ.",
  	"expectedResult": "The station label matches Training station A."
    },
    {
  	"number": 2,
  	"title": "Review the reference label",
  	"instruction": "Read the sample label and compare it with the training reference sheet.",
  	"expectedResult": "The sample label matches the approved reference."
    }
  ]
}
The id identifies the work order, asset identifies its equipment and revision identifies the procedure version. Each entry inside steps has a number, title, full instruction and expectedResult. The sample sorts the steps by number.
Use approved instructions for real work; the sample describes an inactive training station. Before production, validate response size and field lengths, reject invalid procedure data and define token expiry behavior. The API must check permission for each requested order. The example code is illustrative and has not been compiled or tested against a live system or a physical Aura device.
Conclusion
Connecting XREAL Aura to a business system starts with an approved API address and access permission, followed by an Android Studio app that retrieves the required record. Testing the connection on a computer before deploying it to Aura helps you separate data access issues from device setup issues. The work order example brings equipment details and step-by-step instructions into a readable glasses display, giving businesses a practical starting point for making operational information accessible at the point of work. Company sign-in, appropriate permissions and device testing prepare that connection for an employee pilot.
Discuss hardware availability and your pilot requirements with VR Expert.